Snow Ice Cream Recipe
Let’s face it—snow days bring out the inner child in all of us. There’s something magical about waking up to a blanket of fresh, fluffy snow outside your window. And what better way to turn that magic into something edible than by making snow ice cream?
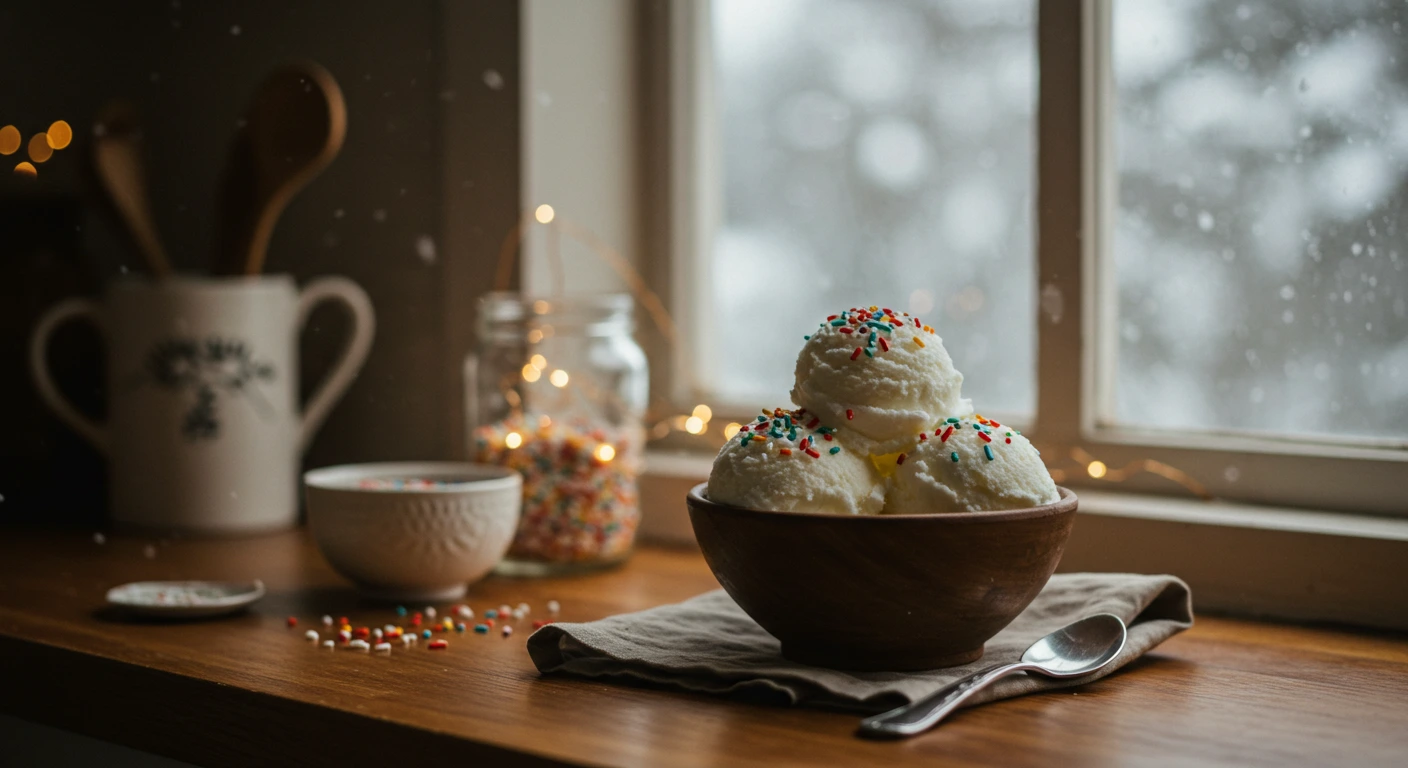
So, what exactly is snow ice cream? In the simplest terms, it’s a fun, no-cook dessert made using freshly fallen snow, milk (or cream), a little sugar, and flavoring like vanilla extract. It’s the winter version of a DIY soft serve—except it comes straight from the sky.
Unlike traditional ice cream that requires churning, freezing, and waiting, snow ice cream is all about instant gratification. You scoop up some clean snow, mix it with just a few ingredients, and bam!—you’ve got a creamy, frosty treat in less than five minutes.
It’s a tradition that dates back generations in cold-weather regions where snow was seen as an opportunity, not just a weather report. Kids and adults alike have long scooped up fresh snowfall and turned it into a seasonal delicacy. The best part? No ice cream maker required.
Whether you’re snowed in, hosting a cozy family night, or just looking for something spontaneous and sweet, this recipe is a must-try. It’s one of those snow day recipes you’ll wish you discovered sooner.
Table of Contents
Ingredients You’ll Need
One of the most beautiful things about a snow ice cream recipe is its simplicity. You don’t need anything fancy or expensive. In fact, you probably already have everything you need in your kitchen right now (minus the snow, of course!).
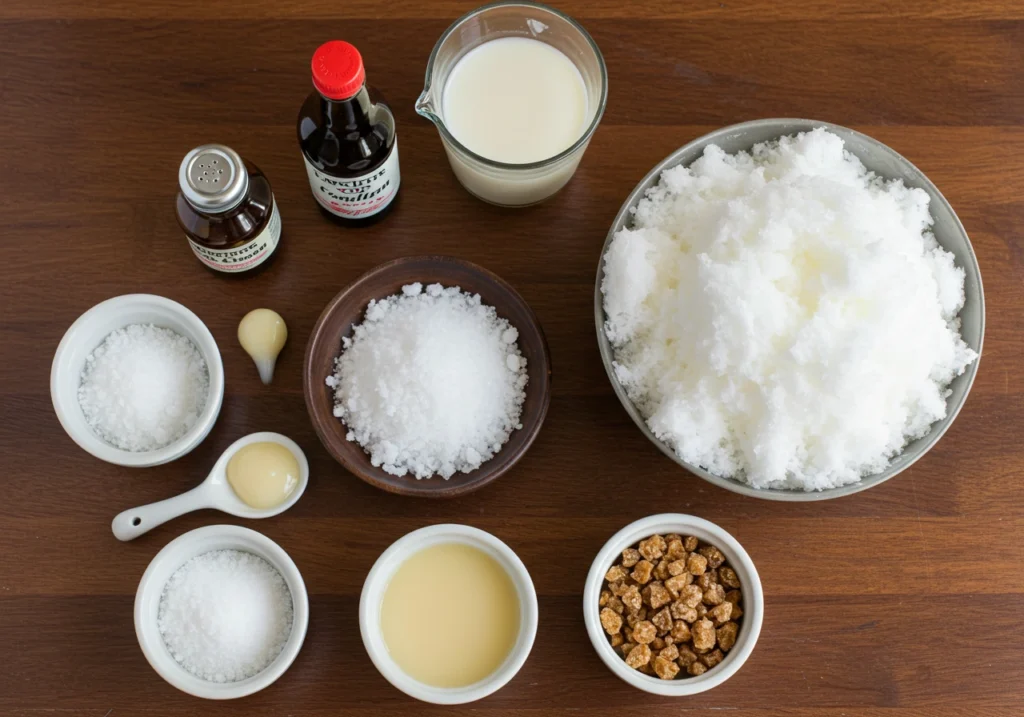
Here’s what you’ll want to gather:
- Fresh, clean snow: About 8–10 cups. It needs to be fluffy and white. Avoid anything yellow (obviously) or snow that’s been on the ground too long.
- Milk or cream: Around 1 cup. You can use regular milk, half-and-half, or even condensed milk for a richer flavor.
- Sugar: 1/4 to 1/3 cup, depending on your sweetness preference.
- Vanilla extract: 1 to 2 teaspoons for that classic ice cream flavor.
- Optional add-ins: Chocolate chips, sprinkles, cocoa powder, crushed cookies, caramel sauce, or whatever your sweet tooth desires.
If you’re dairy-free, no worries—substitute with almond milk, coconut milk, or oat milk. You can also go sugar-free by using a sugar substitute or a little honey.
Want a fun twist? Add in flavored extracts like peppermint or almond. Or go bold and try mixing in some cocoa powder for a quick chocolate version. The possibilities are endless with this quick ice cream recipe for kids and adults alike.
How to Make Snow Ice Cream in 3 Easy Steps
Now that you’ve gathered your ingredients, it’s time for the fun part. Here’s how to make snow ice cream without stress or complicated steps.
Step 1: Scoop the Snow
The key to making great snow ice cream starts with clean snow. Ideally, wait until a few inches have fallen, then scoop the top, fluffy layer from untouched areas—like your backyard or a raised surface. Avoid snow near roads or rooftops, as it may contain debris or pollutants.
Pro tip: If you’re expecting a snowfall, set out a clean mixing bowl or large container ahead of time to catch fresh snow directly. That’s the purest kind you can get.
Scoop around 8–10 cups of fluffy snow into a large mixing bowl and bring it inside quickly so it doesn’t melt before you mix.
Step 2: Add the Good Stuff
Pour in 1 cup of milk (or your alternative), sugar, and vanilla extract directly into the snow. Gently stir the mixture using a spoon or spatula. The snow will shrink a bit as it absorbs the liquids—don’t worry, that’s totally normal.
Keep mixing until everything looks creamy and slightly firm—like a soft-serve ice cream consistency. Be careful not to over-mix, or the snow will melt too much and you’ll end up with a sweet slush.
Want a chocolate version? Add 2 tablespoons of cocoa powder or a drizzle of chocolate syrup during mixing.
Feeling adventurous? Stir in some crushed Oreos or swirl in some jam for a fruity twist.
Step 3: Serve and Enjoy!
Once it’s all mixed, serve it immediately. Snow ice cream is best eaten fresh—after all, it is made from snow, and it melts fast.
You can scoop it into bowls, cones, or even mason jars for a fun presentation. Top it with sprinkles, mini marshmallows, or a dash of cinnamon.
If you’d like it a little firmer, pop it into the freezer for 10–15 minutes before serving. Just don’t leave it too long, or it can get icy.
That’s it. Three simple steps, one delicious dessert, and a whole lot of winter joy.

Best Snow Day Recipes to Pair With
One of the best things about snow ice cream is that it fits perfectly into a cozy snow day menu. If you’re already cuddled up indoors while snow falls outside, why not go all out with a full snow day recipes lineup?
Here are some delicious ideas to pair with your snow ice cream:
1. Hot Chocolate with Marshmallows
This classic winter drink is the ideal companion. Warm, rich, and chocolatey—it contrasts perfectly with the cool, fluffy texture of your snow ice cream.
Make a big batch of hot chocolate and serve it with whipped cream, a sprinkle of cocoa powder, and maybe even a candy cane stir stick.
2. Freshly Baked Cookies
Whether it’s chocolate chip, oatmeal raisin, or sugar cookies, freshly baked cookies are a snow day essential. Plus, you can crumble them over your snow ice cream for a fun topping.
Cookies and ice cream together? Always a win.
3. Mini Pancakes or Waffles
Yes, pancakes and waffles aren’t just for breakfast. Try making mini ones and serving them with a scoop of snow ice cream on top. Drizzle with maple syrup and boom—you’ve created a sweet winter sandwich.
4. Cozy Soup or Chili
Okay, hear me out—after enjoying a warm bowl of hearty chili or soup, a scoop of cold, creamy snow ice cream is the perfect palate cleanser. It’s like going from fireplace to snowball in one bite.
Snow days are the perfect excuse to treat your kitchen like a mini holiday café. Your snow ice cream can either be the star of the show or the grand finale in a day full of comforting bites.
Quick Ice Cream Recipe for Kids: Why They’ll Love It
If there’s one thing snow ice cream is guaranteed to do, it’s make your kids jump for joy. This is hands down one of the most engaging, creative, and delicious activities you can do with them on a snow day.
Here’s why kids absolutely love this quick ice cream recipe for kids:
1. It’s Instant Gratification
Unlike traditional baking or ice cream recipes that require hours of waiting, snow ice cream is ready in under 5 minutes. That’s perfect for short attention spans and instant reward seekers (aka every child ever).
2. No Cooking Required
There’s no stove, no oven, no heat involved—so it’s a safe project for little hands. All you need is a spoon and a bowl. That means less stress for you and more independence for them.
3. It’s a Creative Playground
From picking toppings to mixing flavors, kids can personalize their own bowl of snow ice cream. Want sprinkles? Done. Chocolate chips? Sure. Gummy bears and syrup? Go wild.
It turns snack time into playtime, which is basically the dream scenario for every parent and kid.
4. It Feels Like Magic
Let’s be real—turning snow into ice cream feels like a winter miracle. It’s the kind of hands-on, memory-making moment that will stick with them for years. They won’t just remember the flavor—they’ll remember the fun.
Is It Safe to Eat Snow Ice Cream?
This is probably the most common question people ask when they first hear about snow ice cream: “Wait… is it actually safe to eat snow?” The short answer is yes—but with a few simple guidelines.
Not all snow is created equal. While it may look pure and harmless, snow can collect airborne particles as it falls, or pick up contaminants from the ground once it lands. That doesn’t mean you have to skip the fun. You just need to be a little mindful.
1. Use Freshly Fallen Snow
Always use snow that has fallen recently—within the last few hours if possible. The top layer is usually the cleanest. Avoid snow that’s been sitting for too long or has become packed and crusty.
2. Avoid First-Fall Snow
It’s best to wait until the second snowfall of the season. The first snow tends to collect more dust, pollen, and pollutants from the atmosphere. By the second fall, the air tends to be “cleaner,” making the snow safer.
3. Steer Clear of Roads and Roofs
This might seem obvious, but never use snow that’s been scraped from roads, sidewalks, driveways, or rooftops. It can contain salt, chemicals, or dirt. If you can’t find a clean area, set out a bowl or pan to catch snow directly as it falls.
4. Keep Kids in the Loop
If your kids are helping gather snow, teach them what clean snow looks like and where to collect it. Turn it into a fun learning moment—because science and snacks are always a good combo.
When made with clean snow and safe ingredients, snow ice cream is just as safe (and much more exciting) than anything you’d scoop from a store-bought tub.
Flavor Variations for Your Snow Ice Cream Recipe
One of the best parts about a snow ice cream recipe is how easy it is to customize. Once you get the basic version down, you can start playing with flavors to create your own winter-inspired masterpieces.
Here are some easy and tasty twists to try:
1. Chocolate Snow Ice Cream
Add 2 tablespoons of unsweetened cocoa powder or a generous drizzle of chocolate syrup during mixing. This turns your snow ice cream into a dreamy, chocolatey delight. Want it richer? Use sweetened condensed milk instead of regular milk.
2. Strawberry Swirl
Mix in a spoonful of strawberry jam or puree right after adding your milk and sugar. It’ll create a beautiful swirl effect and add a fresh berry flavor.
3. Peppermint Twist
A few drops of peppermint extract (go easy—it’s strong) can turn your snow ice cream into a minty wonderland. Crushed candy canes on top make it even better.
4. Cookies and Cream
Crush up your favorite cookies (Oreos work great) and stir them in after mixing. It’s like your favorite store-bought flavor, only snowier.
5. Dairy-Free Delight
Substitute the milk with almond, oat, or coconut milk. Add a touch of maple syrup for sweetness and a little cinnamon for flavor. Now you’ve got a vegan version that doesn’t compromise on taste.
Let your creativity take the wheel. Once you know how to make snow ice cream, the fun really begins with all the mix-ins and flavor profiles you can explore.
Fun Toppings to Take It Over the Top
If the flavor is the foundation, toppings are the décor. They add texture, color, and even more flavor to your snow ice cream experience.
Here are some topping ideas that are always a hit:
1. Crushed Candy Canes
Perfect for the holidays or anytime you want a minty crunch. Just sprinkle on top for a burst of color and flavor.
2. Chocolate Chips or M&Ms
Mini chocolate chips melt slightly into the snow, creating little pockets of richness. M&Ms add color and a sweet crunch.
3. Caramel or Chocolate Drizzle
A little goes a long way. Drizzle your favorite sauce over the top for that indulgent, store-bought look and taste.
4. Sprinkles and Marshmallows
Classic, colorful, and kid-approved. Use rainbow sprinkles or mini marshmallows to make each bowl feel like a celebration.
5. Fresh Fruit or Berries
If you’re looking for something lighter, add sliced strawberries, blueberries, or a spoonful of fruit compote.
Let everyone in your household make their own “custom cone” with a toppings station—it’s fun, interactive, and makes the experience even more memorable.
Snow Ice Cream Memories: Make It a Tradition
There’s something uniquely nostalgic about snow ice cream. It’s one of those traditions that kids grow up remembering—and passing down. If you’ve never made it before, there’s no better time to start.
1. Turn It Into a Snow Day Ritual
The moment school is canceled and snow is piling up outside, bring out the snow ice cream bowls. Make it your family’s go-to snow day dessert.
2. Get Everyone Involved
Assign tasks: one person gathers snow, another measures ingredients, someone else mixes. Make it feel like a team event. And of course—everyone gets to decorate their own bowl.
3. Capture the Moment
Take photos or videos of your kids (or yourself!) making and eating their snow ice cream. It’s messy, silly, and totally worth remembering.
4. Start a Recipe Book
Jot down your favorite flavor combinations each year. What started as a simple vanilla batch could evolve into a family-famous peppermint-cookie-crunch creation by next winter.
In a world full of digital distractions, these small hands-on moments can mean the world. They’re joyful, memorable, and totally free—courtesy of Mother Nature.
Final Tips for the Perfect Snow Ice Cream Recipe
Before you grab your bowl and run outside, here are a few final tips to ensure your snow ice cream is next-level every time:
1. Serve It Immediately
Snow melts quickly, especially once mixed with liquid ingredients. Make sure you prep everything first so you can mix and serve right away.
2. Use a Chilled Bowl
If your kitchen is warm, pop your mixing bowl in the freezer for a few minutes before you start. This helps keep the snow from melting too fast while you mix.
3. Don’t Over-Mix
The snow should stay fluffy, not watery. Stir gently and stop as soon as everything is combined.
4. Keep It Lighthearted
There’s no “perfect” snow ice cream. It’s all about the fun and spontaneity. Let the kids add weird toppings. Try a wild flavor combo. Laugh when someone makes a mess. That’s the whole point.
Wrapping It Up
So there you have it—a full guide to making the best snow ice cream recipe ever. It’s fast, fun, and the perfect excuse to turn a cold, snowy day into a cozy memory.
You’ve learned how to make snow ice cream, what ingredients to use, safety tips, flavor ideas, and how to involve the whole family. Plus, you’ve got a bunch of other snow day recipes and toppings to make your winter treat extra special.
Whether you’re five years old or fifty, there’s something truly magical about catching snowflakes and turning them into dessert. So next time the snow starts falling, don’t just stay inside—scoop it up and make something sweet.
Frequently Asked Questions (FAQ)
1. Is it safe to make snow ice cream with real snow?
Yes, it’s safe—as long as you use fresh, clean snow. Avoid snow that’s been sitting too long or collected from roads, driveways, or roofs. The best snow comes from open areas or freshly fallen snowfall. For extra precaution, set out a clean bowl during the snowfall to catch snow directly.
2. Can I use any type of milk in snow ice cream?
Absolutely! You can use whole milk, skim milk, sweetened condensed milk, or even non-dairy options like almond, oat, or coconut milk. Each milk type will give the ice cream a slightly different texture and flavor.
3. How long does snow ice cream last in the freezer?
Snow ice cream is best enjoyed immediately, but you can store it in the freezer for up to 24 hours. Keep in mind it may become icy or grainy over time. To enjoy it later, let it sit at room temperature for a few minutes to soften before eating.
4. How do I know if the snow is clean enough to use?
Stick to snow that is bright white, fluffy, and freshly fallen. Avoid snow near roads or areas with visible dirt or debris. The second snowfall of the season is usually safer than the first, as it collects fewer airborne particles.
5. Can I make snow ice cream without sugar?
Yes! You can use honey, maple syrup, agave nectar, or even a sugar substitute to sweeten your snow ice cream. Adjust to taste as some sweeteners are more intense than others.
6. What are some fun toppings or mix-ins for snow ice cream?
Popular toppings include sprinkles, chocolate chips, crushed cookies, caramel drizzle, or fruit. For mix-ins, try peppermint extract, cocoa powder, or flavored syrups to change the flavor profile.
7. Can kids help make snow ice cream?
Definitely! This is one of the best quick ice cream recipes for kids because there’s no cooking involved. It’s a great hands-on activity for a snow day that combines creativity, fun, and a sweet reward.
8. Does snow ice cream taste like regular ice cream?
Snow ice cream has a lighter, fluffier texture—more like a cross between a soft serve and a snow cone. It may not be as rich as churned ice cream, but it’s just as fun (and arguably more magical).
Snow Ice Cream Recipe
Ingredients
- 8 –10 cups fresh clean snow
- 1 cup milk whole, skim, or dairy-free
- 1/4 –1/3 cup granulated sugar adjust to taste
- 1 –2 teaspoons vanilla extract
Optional:
- 1/2 cup sweetened condensed milk for richer texture
- Chocolate chips sprinkles, crushed cookies, or syrup (toppings)
Instructions
Step 1 – Collect Fresh Snow
- Scoop 8–10 cups of freshly fallen, clean snow into a large mixing bowl. Avoid snow that’s been on the ground too long or near roads.
Step 2 – Add Milk, Sugar, and Vanilla
- Pour in 1 cup of milk, sugar, and vanilla extract. If using condensed milk, reduce the regular milk to 1/2 cup. Stir gently to combine.
Step 3 – Mix Gently
- Mix just until ingredients are well blended. The consistency should be similar to soft serve. Do not over-mix, or it will melt.
Step 4 – Add Toppings and Serve
- Scoop into bowls or cones and add your favorite toppings. Serve immediately for the best texture.
Notes
- Snow Tip: Set out a clean bowl during snowfall to collect untouched snow directly.
- Flavor Boost: Add peppermint, almond, or fruit extract for fun variations.
- Dairy-Free Option: Use oat, almond, or coconut milk for a vegan version.
- Storage: Best enjoyed immediately. Can be frozen for 10–15 minutes to firm up but avoid long storage.
Review Our Recipe: Your Feedback Makes a Difference
There are no reviews yet. Be the first one to write one.